How To Headstand
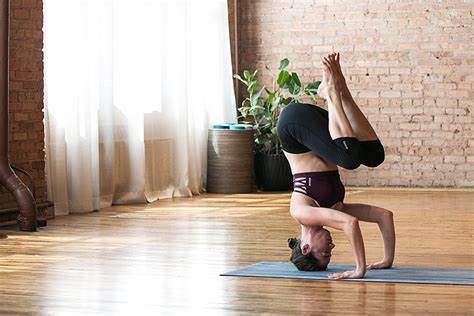
Referred to as the 'king of Asanas', the headstand is one of the most asked about postures according to our Kin Yogis. Here's Kin founder Laura Pearce with her top tips for tackling this challenging inversion.
The first thing I have to say about the headstand, is while it can be a great pose for building upper body and core strength, it can be harmful if not practised carefully, and certainly shouldn't be viewed as a goal stick to measure your practice by, as so many such 'egotistical' postures can be. Basically, it's not for everyone, and don't give yourself a hard time if you have a hard time getting into headstand! The health of the vulnerable neck structures is the most important thing to consider. I for one couldn't get into a headstand comfortably until my Yoga teacher training (during which we practised it every day, and lo and behold...).
Having said that, as intimidating as headstand can be, its actually pretty simple once you break it down:

Step 1, Lay the foundations
Set up with strong, shoulder-distance forearms (about 70% of your body weight in your arms, 30% on your head).
The crown of the head on the mat, not the forehead, you want a long, almost neutral neck shape when upside down, no over flexing or arching.
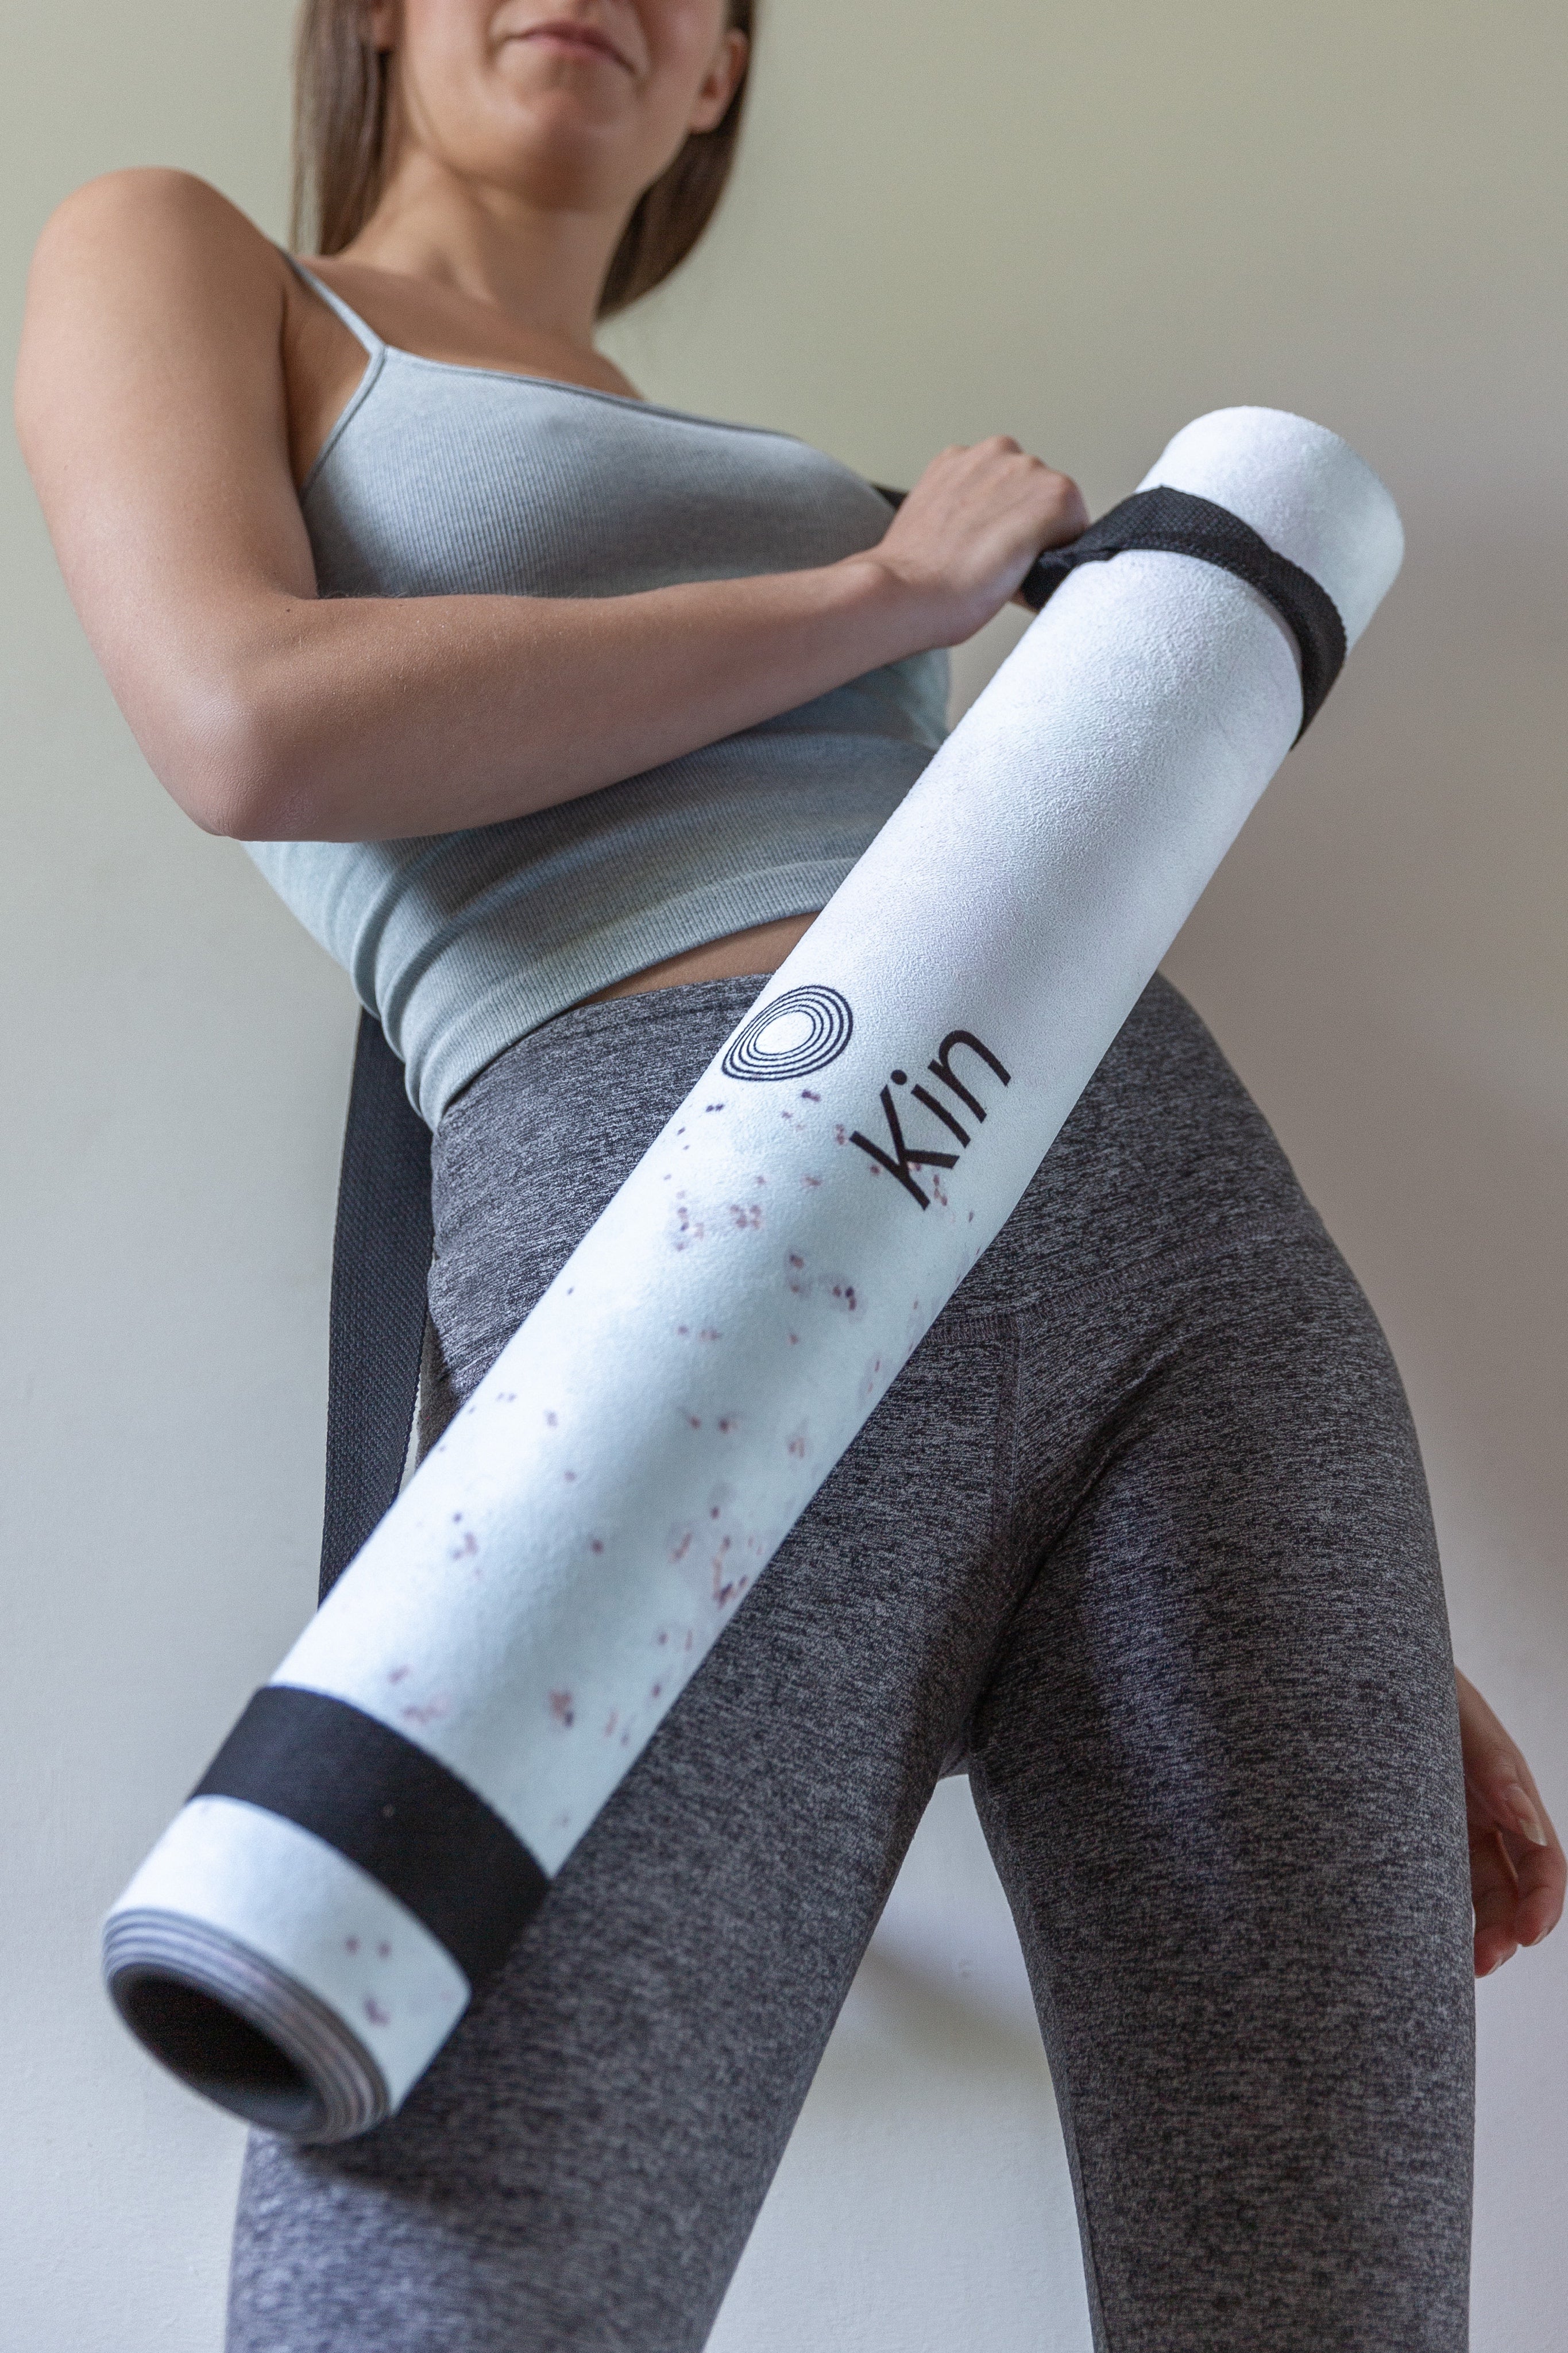
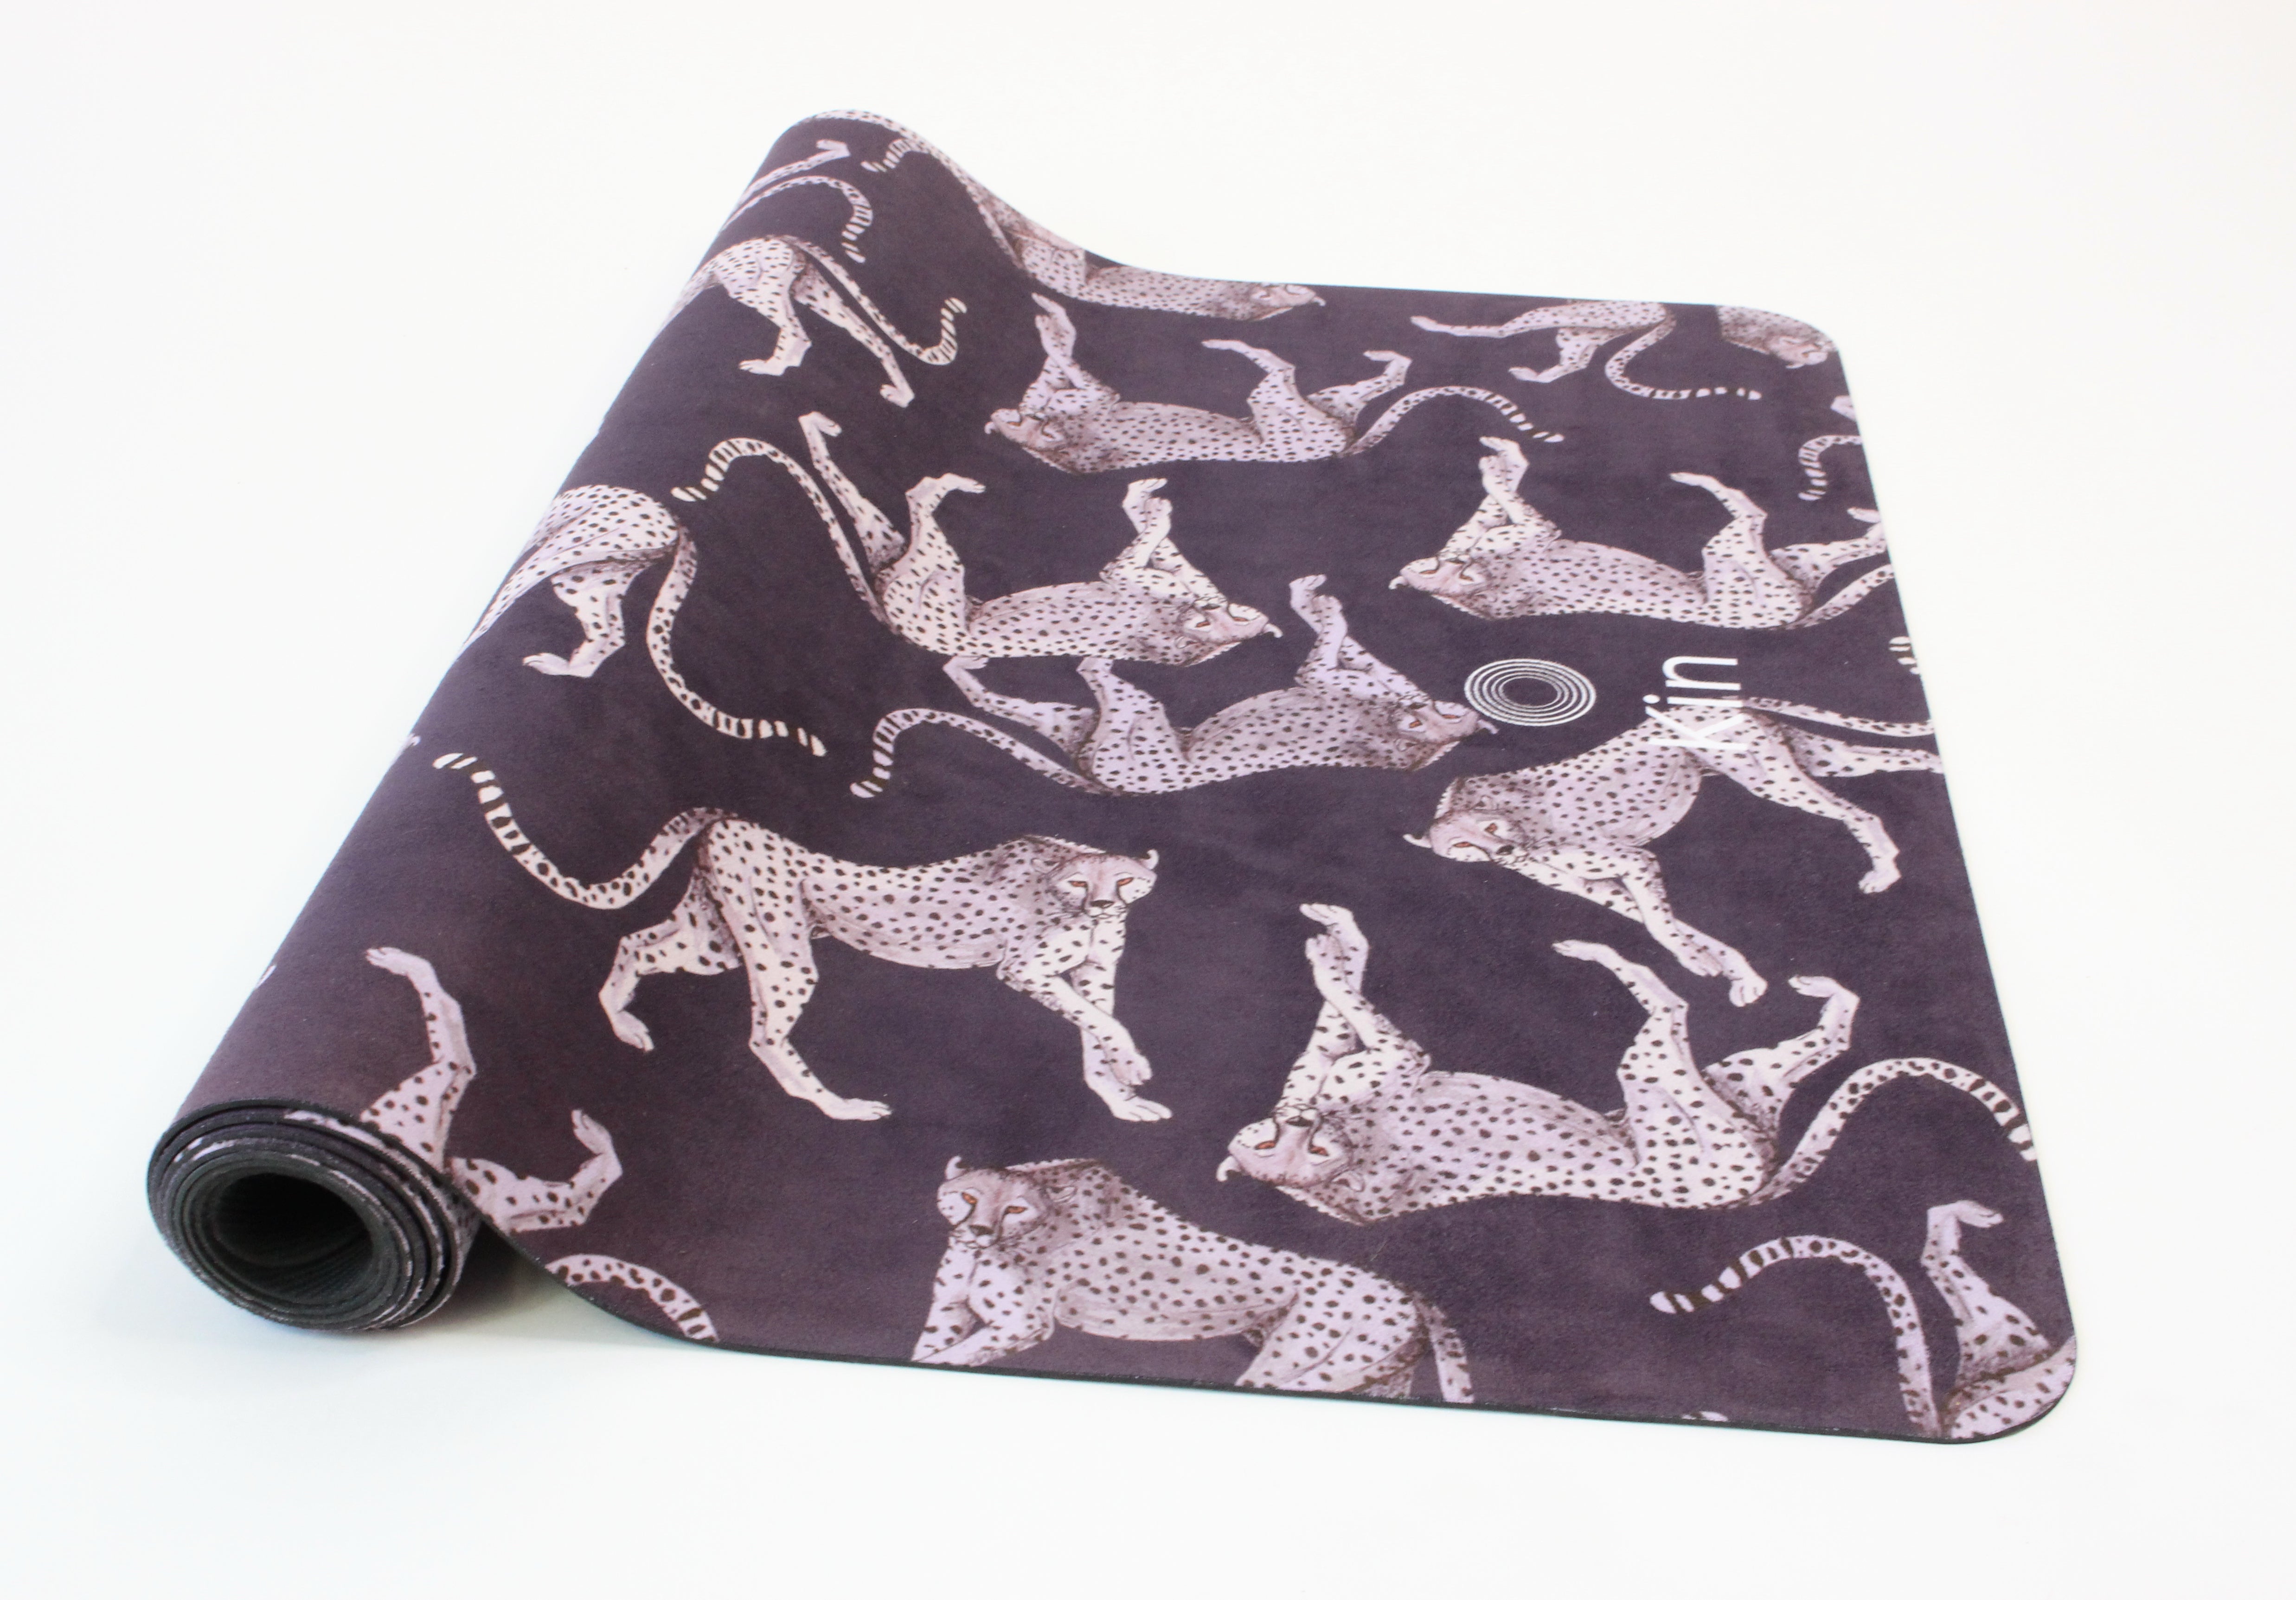
Hold on tight to the back of your skull with your inter-locked fingers, press your wrists into the mat as if you're pushing your mat forward and down. This works well on a mat that has superior grip and cushioning, like the Kin Primal mat.
Step 2, Building your stand
Only if you can keep most of your weight in your arms (otherwise you can damage your neck) then start to lift up into a down dog shape, walking feet closer to the arms to stack hips over shoulders, without rounding neck or shoulders.
Tip your tailbone up to the sky to float the feet, ideally BOTH LIFTING OF THE GROUND AT THE SAME TIME (one leg at a time has been shown to increase the pressure put on the delicate neck structures) into a 'tuck' with your knees into your chest, feet touching your bum.

Step 3, Connect to your scaffolding and balance
Once you can balance for 10 seconds or so with legs bent, you work on straightening the legs, using the strength of your core (huuuuuuuge tummy scoop) to keep you steady.
Push your arms into the ground as firmly as you can, squeeze inner thighs together and 'firm up' your whole body, as if you were in a super strong plank hold.
To build the strength required for this challenging, and frankly risky inversion, practice dolphin, core strengthening work, planks, forearm planks, and crow pose, and keep on practising! Keep it safe and go slow. The key to unlocking tricky poses is consistency, determination, and practice practice practice!
Next week we take a look at Crow Pose...